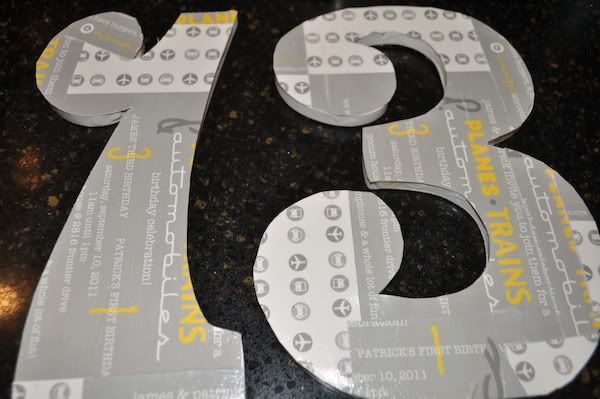
Today I have an easy and fabulous tutorial to share with you! Amanda of My Mommie's Favorite Finds loved her sons' birthday invitation so much and didn't want them to end up at the bottom of a memory box. So, she created this adorable keepsake! As told by Amanda...
Invitation Wooden Number Keepsake
Materials needed: invitation, wooden numbers (or letters), scissors, paint brush and Mod Podge
Step One:
Place the wooden number (or letter) face down. Then, center the invitation.
Step Two:
Turn the materials upside down and trace on the back of the invite.
Step Three:
Cut and apply a layer of Mod Podge on the number.
Step Four:
Place the cut invitation down to match what you traced. Patch with leftover invitation pieces to fill missing spots on the numbers.
Step Five:
Once the number is covered, add another coat of Mod Podge. Let it dry and it's ready!
Here is a picture of the CUTE invitation! I can see why Amanda wanted to save it!
Here is a sneak peek of some of her party goods. The party is next weekend and I can't wait to see her creative touches!
Sources
Invitations - AbGaynor
Project materials - Hobby Lobby


1 comment:
What a great idea! Both my kids birthdays are coming up and these would make cute decorations.
Post a Comment